Photo Locations: Choose a Spot for the Light
- Published
- Reading time
- 8 min read
- Prepared by
- LiteGallery editorial team
Choose a photo location by matching its orientation, openness and surroundings to the light you want: open shade softens faces, while direct sun creates stronger highlights and shadows. Check how the light falls at your planned shooting time, then pick a spot where its direction and quality suit the subject.
The best location is not simply the most striking one; it is the place where the light works for the picture you want to make. This guide to photo locations explains what to look for on site, from shaded edges to open spaces, so you can choose a spot with intention rather than rely on luck.
| Shoot type | Main light check | Practical check |
|---|---|---|
| Outdoor portrait | Subject and background exposure | Open shade beside buildings or trees |
| Outdoor scene | Sun direction and full, partial or no shade | Scout at the planned shoot time |
| Indoor shoot | Lighting equipment | Space and power access |
How do you read the sun at a photo location?
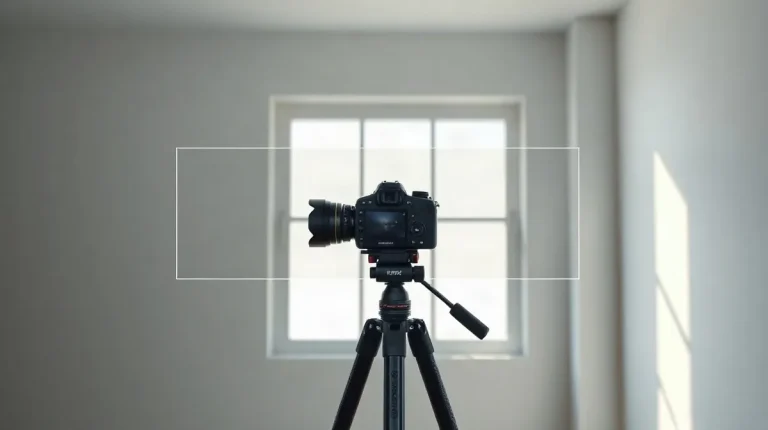
Read the sun at a photo location by visiting at the planned shoot time and checking whether the subject area is in full sun, partial sun or full shade. The sun’s direction and the way it moves across the space determine which compositions will remain usable as the light shifts.
Sun direction
At the planned hour, look across the actual shooting area rather than judging the location from a general view. Test light-coloured walls and other bright surfaces in your frame: direct sun can make skin tones harsh and those surfaces lose detail.
- Full sun: Check whether the subject and background can both hold detail in direct light.
- Partial sun: Mark where the subject can stand as sunlight moves across the space.
- Full shade: Note whether the shaded area and its background stay evenly exposed.
Open shade
Open shade is an area protected from direct sun but still exposed to the brighter open sky. Track which building sides and tree groves create it, then add those positions to a shot list alongside backgrounds that remain evenly lit. Scout as close as possible to the actual shoot day and time, since the sun’s position—and therefore the available shade—changes.
Which locations work best for portraits in bright sun?
For portraits in bright sun, choose the shaded side of a building or a grove of trees where the subject and background receive similar exposure. These locations can soften direct sunlight without leaving the background glaringly brighter than the face. Check the spot at the time you plan to shoot, because the sun’s direction changes where shade falls.
A simple background keeps attention on the person, while its theme or feel can reinforce the portrait. A plain building wall offers fewer distractions than a busy scene; a grove can suit a more natural-looking portrait. Choose the setting that complements the subject, then compare the face and background through the camera rather than judging the shade by eye alone.
Check the shade and exposure
- Open shade: Look for shade that is not enclosed and dark, such as the area beside a building or beneath trees.
- Face shaded, background sunlit: Reposition the subject or camera until the face and background exposures are closer. Otherwise, the bright background may look washed out beside the shaded face.
- Before the shoot: Scout as close as possible to the planned day and time, then check the light through the camera again on location.
When should you scout a location?
Scout an outdoor photo location as close as possible to the planned shoot day, and return at the hour you intend to photograph. A convenient visit at another time cannot show reliably where the sun or open shade will fall during the session.
At the matching hour, note whether the planned shooting area is in full sun, partial sun or shade, and check the sun’s direction against the background. Direct sunlight can be harsh on skin tones and wash out light-coloured surfaces; a building’s shaded side or a grove of trees may offer more balanced exposure between subject and background.
Record light, space and conditions
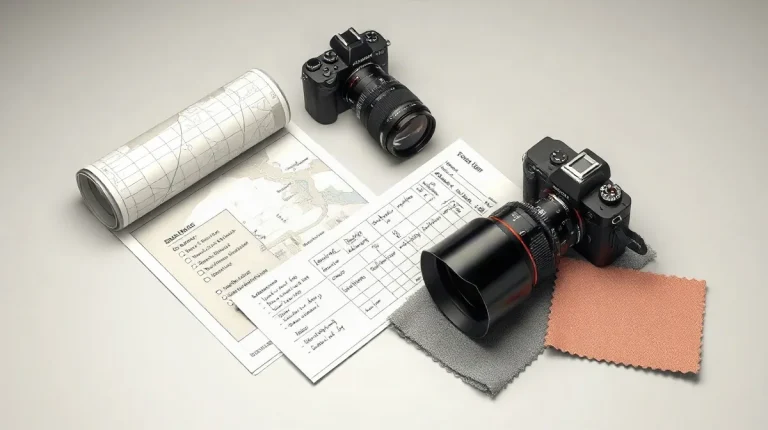
Use the scouting visit to map which spots are sunlit or shaded for each planned shot, then arrange the shot list to follow that changing light. Also note crowds and on-site conditions: either can reduce the space available for a composition, even when the light is right.
How does light change the choice between outdoor and indoor shoots?
Light determines whether an outdoor or indoor location is workable: outside, check how the subject’s exposure compares with the background; inside, verify the planned lighting equipment, room space and power access.
Outdoor exposure
Outdoor suitability depends on the sun and shade at the chosen spot and at the planned shoot time. Compare the light on the subject with the background: a subject in open shade against a brightly sunlit wall may be difficult to expose evenly, while a shaded building side or a grove of trees may offer a closer match.
- Sun and shade: Check whether the subject’s position is in full sun, partial sun or shade, and where open shade falls.
- Exposure balance: Look at the subject and background together; bright sunlight can make skin tones harsh and light-coloured surfaces overexposed.
Indoor logistics
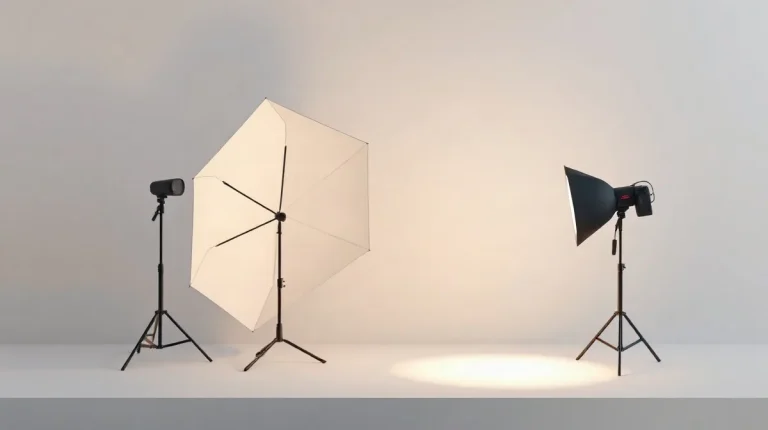
Indoor suitability depends not only on the available light but also on equipment, room and power. Before committing to a shot list, confirm that the planned lights are available, that the room has usable space for the setup and that power access is available where the equipment will be placed. A room that cannot accommodate the lighting arrangement may require a different setup or location.
- Equipment and power: Confirm the planned lighting equipment and usable power access.
- Room and setup: Check the room’s usable space against the complete lighting arrangement before finalising the shot list.
When does a promising photo location not work?
A promising photo location fails when its light at session time conflicts with the picture you need. A courtyard that looks soft and flattering in the morning may be in full sun later, making skin tones harsh and pale walls or clothing difficult to retain in the exposure. Check the sun’s direction at the planned shoot time, not just the spot’s appearance during an earlier visit.
Outdoor locations also become difficult when the subject is shaded but the background is brightly lit: exposing for the face can wash out the background, while exposing for the background can leave the subject too dark. Try the shaded side of a building or a grove of trees, where the subject and background are more likely to sit in balanced light. Scout close to the actual session time; a visit made well in advance may miss changes in sunlight, crowds or other conditions.
Check the indoor setup, too
An indoor location is not shoot-ready simply because its room looks suitable. Confirm that the lighting equipment you need is available, there is enough working space to position it, and you can access power; a failure on any of those checks can rule out the room. For both indoor and outdoor spots, judge the location against the session’s actual light and practical requirements, rather than appearance alone.
What should you compare before choosing a spot?
Compare each candidate location at the planned shoot time by checking the sun’s direction, the areas of full sun and shade, and how the subject’s exposure relates to the background. Scout as close as possible to the actual shoot day and time: that gives you a more useful read on the light and conditions than visiting at a different hour.
- Outdoor portraits: Check whether a simple background sits in light close to the subject’s exposure. A shaded side of a building or a grove of trees may help avoid the mismatch between a brightly lit background and a shaded face.
- Direct sun and shade: Note where open shade falls at the planned time. Bright direct light can be harsh on skin tones and may blow out light-coloured surfaces, so compare how much usable shade each location offers.
- Indoor setups: Check that the space can accommodate the lighting equipment on your shot list, and confirm that power is accessible where you need to place it.
Choose by the shot list, not by appearance alone: Prefer the spot whose light, background and practical setup support the planned photographs under the conditions expected on the shoot day. If one location only works when the sun or shade is different from what you expect, it is a less reliable choice.
Frequently asked questions
What is the best time to scout a photo location?
Where should I photograph portraits in harsh sun?
What should I check before an indoor photo shoot?
Why can a location look good but fail in the photograph?
What this piece draws on
- slrlounge.com — “Location Scouting: On the Hunt for the Perfect Shots”
- myclickmagazine.com — “Where to shoot: A field guide for choosing locations”
- shootfactory.co.uk — “How to Choose The Right Photo Shoot Location”
- digital-photography-school.com — “How to Scout for Portrait Shooting Locations”
- San Diego Photographers + Educators — “How to Shoot Beautiful Portraits in Harsh Sunlight | The Youngrens”