Leading Lines Photography: A Complete Guide
- Published
- Reading time
- 10 min read
- Prepared by
- LiteGallery editorial team
Updated: October 21, 2026
Leading lines are real or implied lines within a photograph that guide the viewer’s eye through the frame, often toward the main subject. Roads, railings, shorelines, shadows and architectural edges can all do the job; their effect depends on where they begin, where they lead and how they relate to the rest of the composition.
Used deliberately, leading lines can create depth, connect foreground and background, or add movement and structure. This guide explains how to find and compose with them—and how to think beyond obvious paths so lines support the image rather than distract from it. For another way to shape a photograph’s visual flow, see our in-depth article “Double Exposure Photography: How to Layer Images with Intention”.
| Element | Setting | Possible compositional role |
|---|---|---|
| Road | Built | Lead from foreground towards a subject |
| River | Natural | Carry the eye through a curved route |
| Fence | Built | Direct attention along its length |
What are leading lines in photography?
A leading line is a visible element in a photograph that guides the viewer’s eye from one part of the frame to another, often towards the main subject. A road, river or fence can create this visual route, carrying attention from the foreground into the background.
Leading lines can be straight or curved, and horizontal, vertical or diagonal. Their effect depends on where each line begins and where it points: a road that narrows towards a distant subject creates a different direction of travel from a river that bends across the frame.
How leading lines shape a photograph
Leading lines add perspective and depth, helping a flat image feel more immersive. For example, a fence entering the frame in the foreground and receding towards a subject gives the viewer a visual path through the scene; a river curving away can draw attention deeper into the landscape. The line’s direction and endpoint determine how the eye moves through the composition. How focal length changes the sense of depth in a portrait is covered in our piece on lens compression.
How do you find lines that lead to a clear subject?
Choose a visible destination first—a person, a building, a bend in a river or another clear focal point—then find a line that leads towards it. A line only helps when its route connects the foreground to that subject; a feature that simply crosses the frame may divide attention instead.
Natural lines
A riverbank can guide the eye around a bend towards a person or building in the distance. Follow its course through the whole frame: if the bank ends abruptly or turns away before reaching the destination, it may draw attention to the edge rather than the subject. Shift your viewpoint until the riverbank and focal point read as one visual path.
Built lines
A road or fence can make a clear route towards a chosen subject, but check where the line begins, where it ends and what else it meets along the way. Before taking the photograph, look for competing lines that cross the route or point towards another feature.
- Road: Use its direction to connect the foreground with a person or building, rather than letting it lead out of the frame.
- Fence: Check that its edge guides attention towards the subject instead of stopping short or pointing elsewhere.
How do line direction and perspective change a composition?
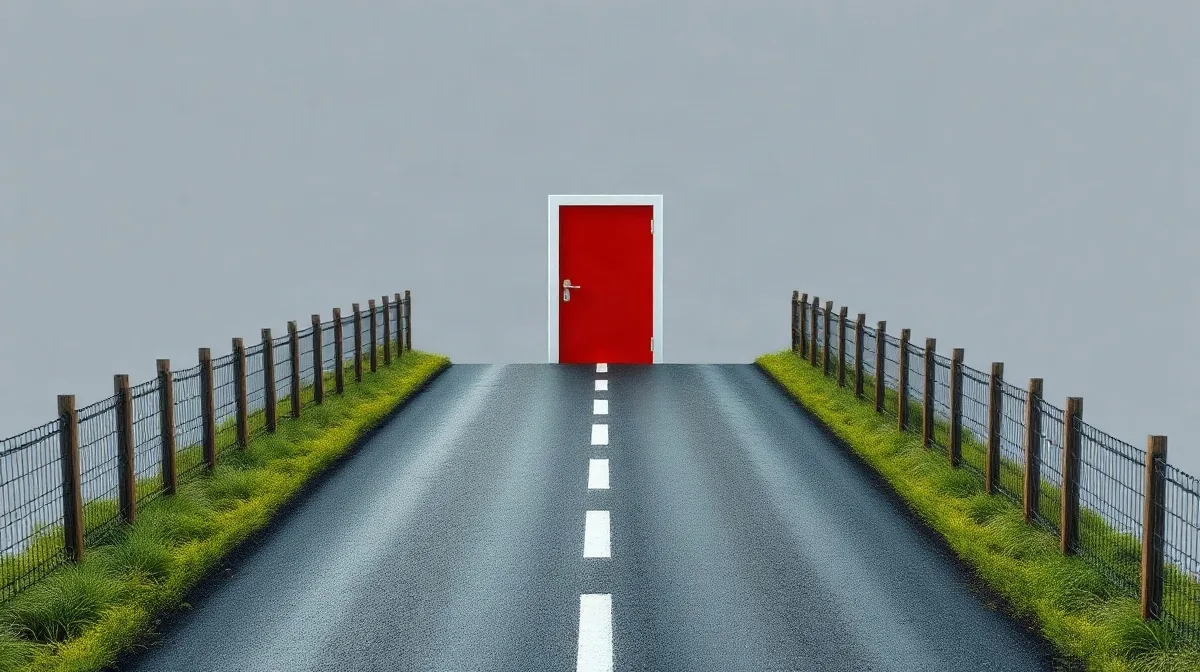
Line direction and perspective change a composition by controlling where the eye travels and how clearly the frame conveys depth. A road that narrows towards a distant subject forms a visible route into the image: its converging edges make the near-to-far relationship legible and help the subject hold attention at the end of that route.
A river’s curve guides the eye differently: rather than pointing to one endpoint, it can lead through several parts of a landscape. The bend creates a sequence of visual stops, so the viewer can explore the foreground, follow the water through the middle distance and continue towards the background.
Direction sets the mood; perspective sets the depth
Diagonal lines tend to make a composition feel more dynamic because they pull the eye across the frame at an angle. Horizontal lines, such as a shoreline, and vertical lines, such as a tree trunk, give the image a more settled structure. Lines that start near the foreground and continue into the background make the distance between those areas easier to read, whether they are straight like a road or curved like a river.
How to use leading lines in photography: a step-by-step method
Knowing what a leading line is does not yet put one to work. This field method turns a road, railing or shoreline into a route that ends on your subject.
- Choose the destination before the line. Decide what the viewer should end on — a person, a lighthouse, a doorway — and only then look for a line that can reach it.
- Get low and close to where the line starts. Lowering the camera to knee height or below makes the near part of the line fill the foreground, so it reads as a path rather than a thin stripe across the bottom of the frame.
- Pick the focal length for the effect you want. A wide angle (roughly 16–24 mm on full frame, or a phone’s 0.5× ultra-wide) stretches the foreground and makes parallel edges converge steeply, strengthening depth. A telephoto compresses distance, so lines look flatter and stacked — useful for layered patterns, weaker for a dramatic route.
- Enter at the bottom edge or a lower corner. A line that starts at the bottom edge or in a lower corner feels like an entrance. Let it end on the subject, which you can place near a rule-of-thirds intersection or right at the vanishing point for a centred, symmetrical frame.
- Keep the whole route sharp. If the line runs from your feet to the horizon, stop down to around f/8–f/11 and focus roughly a third of the way into the scene, so both the start of the line and the subject stay acceptably sharp.
- Control the verticals. In architecture, keep the camera level when you want walls to stay straight; tilt it on purpose when you want converging verticals to become the leading lines.
- Trace the line on the screen, then shoot two versions. Follow the line with your finger on the display from entry to destination. Make one frame from your first position and one after moving a step left or right, and keep the version where the line arrives most cleanly on the subject.
Implied leading lines
Not every leading line is drawn on the ground. A person’s gaze, a pointing arm, a row of footprints or a sequence of repeated objects — lamp posts, boats, columns — creates an implied line that the eye follows just as readily. In portraits and street scenes these are often stronger than physical lines because viewers instinctively look where people in the photograph are looking.
How can leading lines work across photography genres?
Leading lines work across photography genres by connecting parts of the frame and directing attention—towards a distant focal point, a chosen architectural feature, or simply across a close, graphic composition. The line might be natural, such as a river, or built, such as a road, fence or structural edge.
From landscapes to graphic compositions
In landscape photography, a road, river or fence can link the foreground to a distant focal point, giving the viewer a visual route through the scene. Position the line so it draws attention towards the feature you want viewers to notice, rather than letting it lead out of the frame.
In architectural photography, use built edges and structures—such as a wall, roofline or row of columns—to direct attention towards a chosen feature. For a close, graphic composition, a line does not need to point towards anything distant: it can guide the eye across the frame and organise the shapes within it. To experiment with lines across layered images, see Double Exposure Photography: How to Layer Images with Intention.
When do leading lines fail to guide the viewer?
Leading lines fail when they pull attention away from the intended subject or make the photograph’s destination unclear. A road that runs to the frame edge before it reaches a person, building or other focal point can carry the viewer’s gaze out of the picture instead. Check where the road ends in the frame: if it does not connect to the subject, reconsider the camera position or leave the line out.
Several strong lines can compete rather than guide. For example, a road, a fence and a river edge may each lead in a different direction, giving the viewer no clear destination. A line can also overemphasise an unimportant detail: if a fence points straight to a bright sign while the intended subject is elsewhere, the sign may dominate the composition.
When to leave the line out
Roads, fences and river edges are useful only when their direction supports the subject and the frame remains easy to read. If a line distracts, points to an irrelevant detail or sends the eye beyond the photograph, do not force it into the composition; frame the subject without it. The test is practical: trace the line with your eye and see whether it arrives at the intended focal point.
What should you check before taking the photograph?
Before taking a photograph, identify the focal point and trace each prominent line to see whether it leads the viewer towards that subject. A road, river or fence can create a route through the frame, but its direction matters: if it guides the eye away from the focal point, reconsider your position or framing.
Check the frame edges for lines that pull attention out of the scene. A road entering at a lower corner, a fence running off the side, or a river disappearing beyond the edge may compete with the intended route rather than lead towards the subject. Trace each one from where it enters the frame to where it ends.
Compare the routes through the frame
Compare a straight-on view with a shifted viewpoint before settling on the composition. Moving slightly to one side can change where converging road edges or fence rails meet, and therefore where they direct attention. Then check whether the scene offers one clear visual route to the focal point or several competing routes; decide the composition is finished only when those lines support the same reading.
Frequently asked questions
What is the simplest example of a leading line?
Do leading lines have to be straight?
Can a leading line point away from the subject?
Can leading lines be used in double exposure photography?
How do you use leading lines in photography?
What lens is best for leading lines?
What this piece draws on
- tamron-americas.com — “Leading Lines in Photography: Composition Tips and More”
- digital-photography-school.com — “Leading Lines in Photography: The Essential Guide”
- PI USA — “Creating Depth with Lines, Layers & Leading Lines in Photography”
- Visual Education — “Leading Lines: Photography Composition”
- sandmarc.com — “Leading Lines in iPhone Photography & Filmmaking: How to Guide the Vie”