Photography Techniques for Beginners: Aerial Autumn
- Published
- Reading time
- 6 min read
- Prepared by
- LiteGallery editorial team
To photograph autumn from the air, choose a safe viewpoint, use clear shapes and colour contrasts, and keep your camera steady. A drone can reveal patterns that are hard to see from the ground.
For beginners, aerial autumn photography is less about flying high than finding a composition: rows of trees, winding paths, or bright foliage against a quieter background. Check the light and weather before you fly, and follow local drone rules.
This guide covers simple ways to plan a flight, frame the landscape, and make the most of autumn colour without letting the technology distract from the photograph.
| View | What it shows well | Common limitation |
|---|---|---|
| Vertical | Canopy patterns and colour blocks | Roads may read as thin lines |
| Tilted | Roads, ridges and landscape depth | Canopy patterns may be less even |
| Higher viewpoint | Broader forest structure | Individual details become smaller |
| Lower viewpoint | Distinct clearings and tree groups | Branches and obstacles constrain framing |
- 67% Self-employed workers in the U.S. Bureau of Labor Statistics photographer employment breakdown
What should you check before flying over a forest?
Before flying over an autumn forest, check the flight area and the drone rules that apply there; trees do not mean the airspace is open.
Choose a launch point where you can see the aircraft and land it safely. Before take-off, scan the intended route for power lines, overhanging branches, roads and people; each can limit where the drone can fly or land.
Plan the shoot as a complete job
The U.S. Bureau of Labor Statistics says self-employed workers made up 67% of photographers in its employment breakdown. For a forest shoot, include permission checks and safe operation in your plan, not just the camera and composition.
How should you prepare the camera before flight?
Prepare the camera on the ground: choose an aircraft-compatible camera, set the image format, check focus and stabilization, confirm storage, and take a test frame before launch.
NIST lists both a Single Lens Reflex (SLR) camera and a Mirrorless Interchangeable Lens Camera (MILC) as camera types. Either can make still photographs if the aircraft can carry it safely.
- Image format: Set the camera to RAW when available. The NIST glossary defines RAW as a digital camera or scanner file format, usually proprietary, for minimally processed digital image data.
- Focus and stabilization: Check focus and image stabilization before takeoff; confirm the settings suit the camera’s mounting and flight conditions.
- Storage and test: Check that the memory card has space, then take and review a test frame to verify that the camera records correctly.
- Field of view: Use a normal or moderate field of view if you want the autumn canopy to look natural. Confirm the composition on the ground, where you can adjust framing before flight.
How do you expose autumn colour from the air?
Expose aerial autumn colour by using the changing light deliberately, keeping the shutter fast enough to limit aircraft motion blur, and checking bright leaves and sky for lost detail.
Zeitview’s autumn aerial photography guidance points to seasonal light and colour as the main opportunity. Watch how the light falls across the canopy: it can change the contrast between sunlit foliage and shaded trees, so review the scene as conditions shift.
Set a shutter speed fast enough to limit motion blur from the aircraft. Then adjust aperture and ISO to keep the exposure usable. Check the highlights on bright leaves and in the sky; if either loses detail, reduce exposure compensation and take another frame.
Keep room to adjust colour
Capture RAW files when you want more control in editing. RAW preserves minimally processed image data, giving you more flexibility to adjust colour and tone later. That is useful when the canopy’s vivid colours and the bright sky need different tonal treatment.
How can you compose a forest photograph from above?
Compose a forest photograph from above by arranging the canopy around a clear feature—such as a road, river, clearing or treeline—that divides the trees and leads the eye.
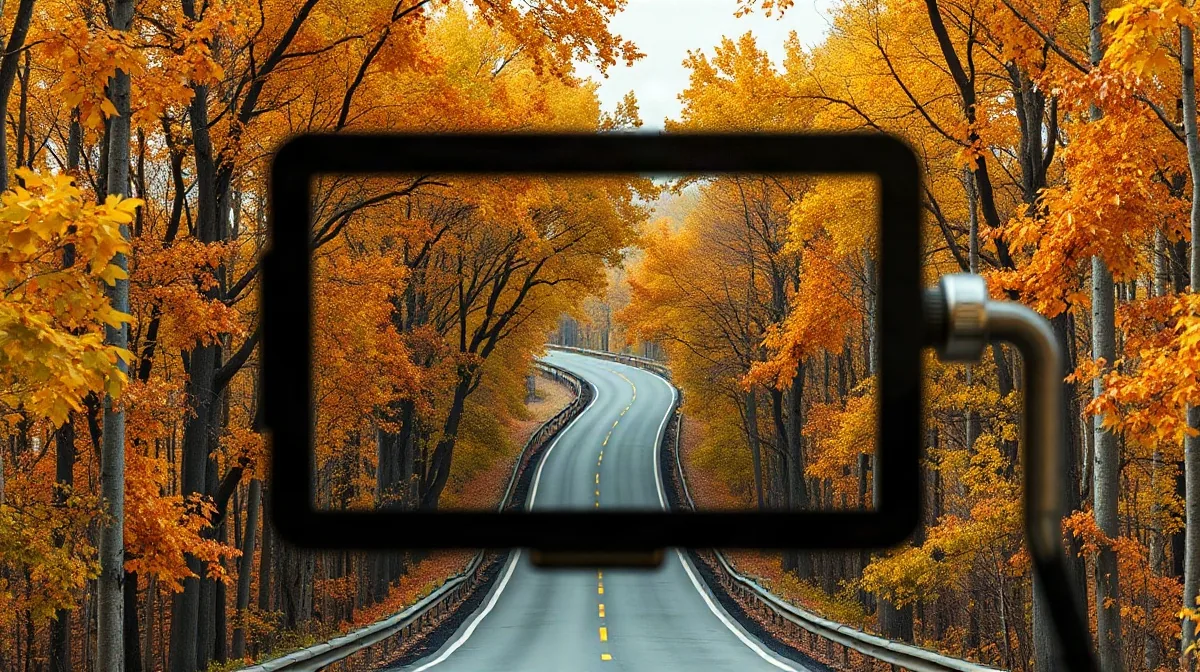
Look for that structure before judging the autumn colours. A road or river can make a strong line through the canopy; a clearing or treeline can split it into distinct areas.
- Vertical view: Point the camera straight down to show the pattern of tree blocks and clearings. The Forester’s Guide to Aerial Photo Interpretation discusses vertical photographs as a way to interpret aerial images.
- Tilted view: Angle the camera when a road or ridge needs to recede into the scene and give the landscape depth.
- Dot-grid check: Compare the size and spacing of clearings, tree blocks and colour patches. Avoid centring every subject; look at how the shapes balance across the frame.
If the first frame hides the landscape’s shape, make another from a different height or angle. Check whether the road, ridge or gaps between trees become clearer before choosing the stronger composition.
When do aerial forest techniques fail?
Aerial forest techniques fail when poor light, unsafe flight conditions, unclear composition or clipped highlights undermine the image; wait for better light or abandon a shot when control or a safe landing is uncertain.
- Low, flat light: It can mute autumn leaf colour and flatten the canopy. Wait for the light to change instead of trying to rescue every frame in editing.
- Wind, branches and a narrow launch area: These can make a flight unsafe and the image unstable. Abandon the shot if you are unsure you can maintain control or land safely.
- Straight-down framing: A road may become a thin line or its route may disappear among the trees. Tilt the camera when you need the road’s direction to read clearly.
- Saturated colour: Pushing foliage colour too far can clip bright highlights and erase detail. Check the camera screen and retain texture in the brightest leaves.
What should you do after landing?
Before leaving the flight site, review the aerial files and check that focus, exposure and framing are usable. Zoom in to assess sharpness, look for clipped highlights or shadows, and make sure the canopy and any roads or clearings sit where you intended.
Keep the RAW originals untouched, then make colour and contrast adjustments on copies. This preserves the original capture if a stronger edit makes autumn foliage look artificial or removes detail from bright leaves and dark tree cover.
Compare frames using the same criteria:
- Path through the image: Does a road, river or opening lead the eye into the forest?
- Canopy and open space: Is the balance clear, or does one dominate the frame?
- Autumn colour: Do individual leaf colours remain detailed rather than blending into flat patches?
Record the flight location and any access or safety constraints while they are fresh. Note where you could launch and any limits that may affect the next shoot.
Frequently asked questions
Can a beginner make aerial forest photographs with a mirrorless camera?
Should I shoot autumn aerial photos in RAW?
Is a straight-down view always best for forest patterns?
What is the first safety check before a forest drone flight?
Sources
- Blog — “Aerial Photography Tips for Autumn | Zeitview”
- npshistory.com — “Forester's Guide to Aerial Photo Interpretation”
- stock.adobe.com — “266891 results for aerial photos of fall forest in all – Adobe Stock”
- magnific.com — “Autumn forest road aerial Images – Free Download on Magnific”
- National Geographic — “Vibrant Photos of Foliage From Above”